


How do you add Redshift to Cinema 4D?
Redshift and Cinema 4D have become one of the most favourite combos for anyone in the 3D field. Since 2019, Maxon has bought Redshift and made it a default renderer for Cinema 4D. Now Redshift can be used on CPU, GPU, or both. In this article, let’s see how do you add Redshift to Cinema 4D to be able to start your work.
How do you add Redshift to Cinema 4D?
In this post, we will guide you step by step on how to add Redshift to Cinema 4D.
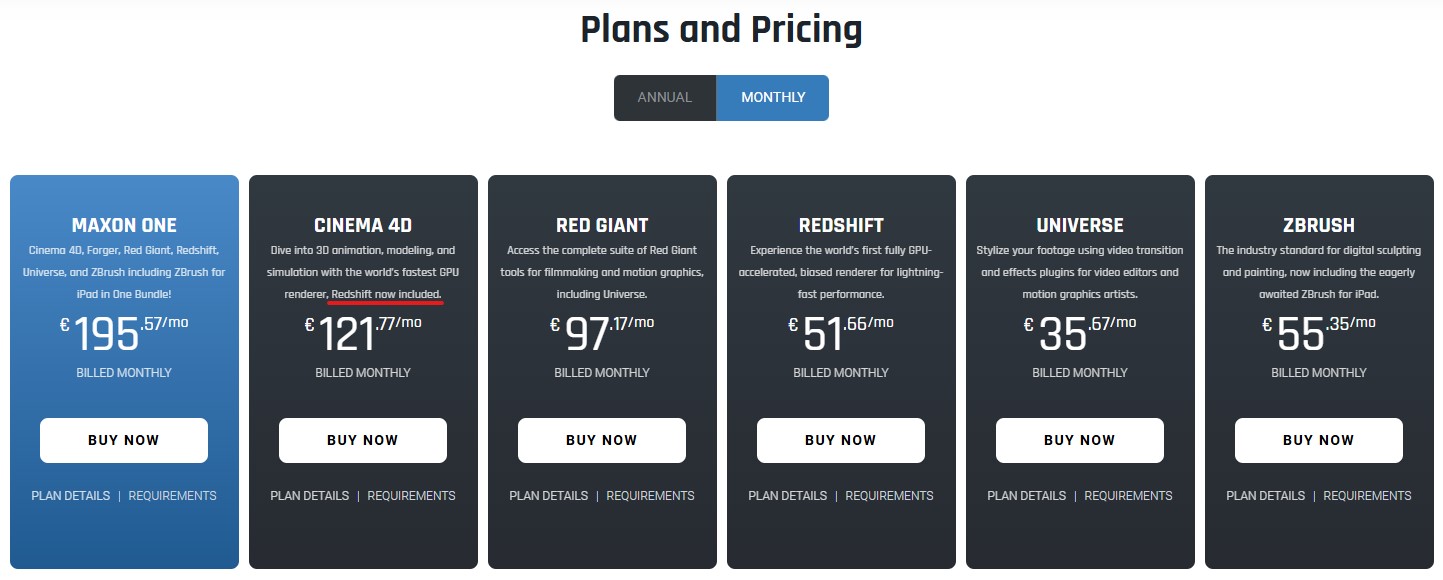
First of all, buy a license for Cinema 4D on Maxon.net. You can choose annual or monthly, it’s up to you. The annual will be cheaper. You will only need to buy a license for Cinema 4D, no need to buy a separate Redshift, as Redshift is now included in the Cinema 4D license.
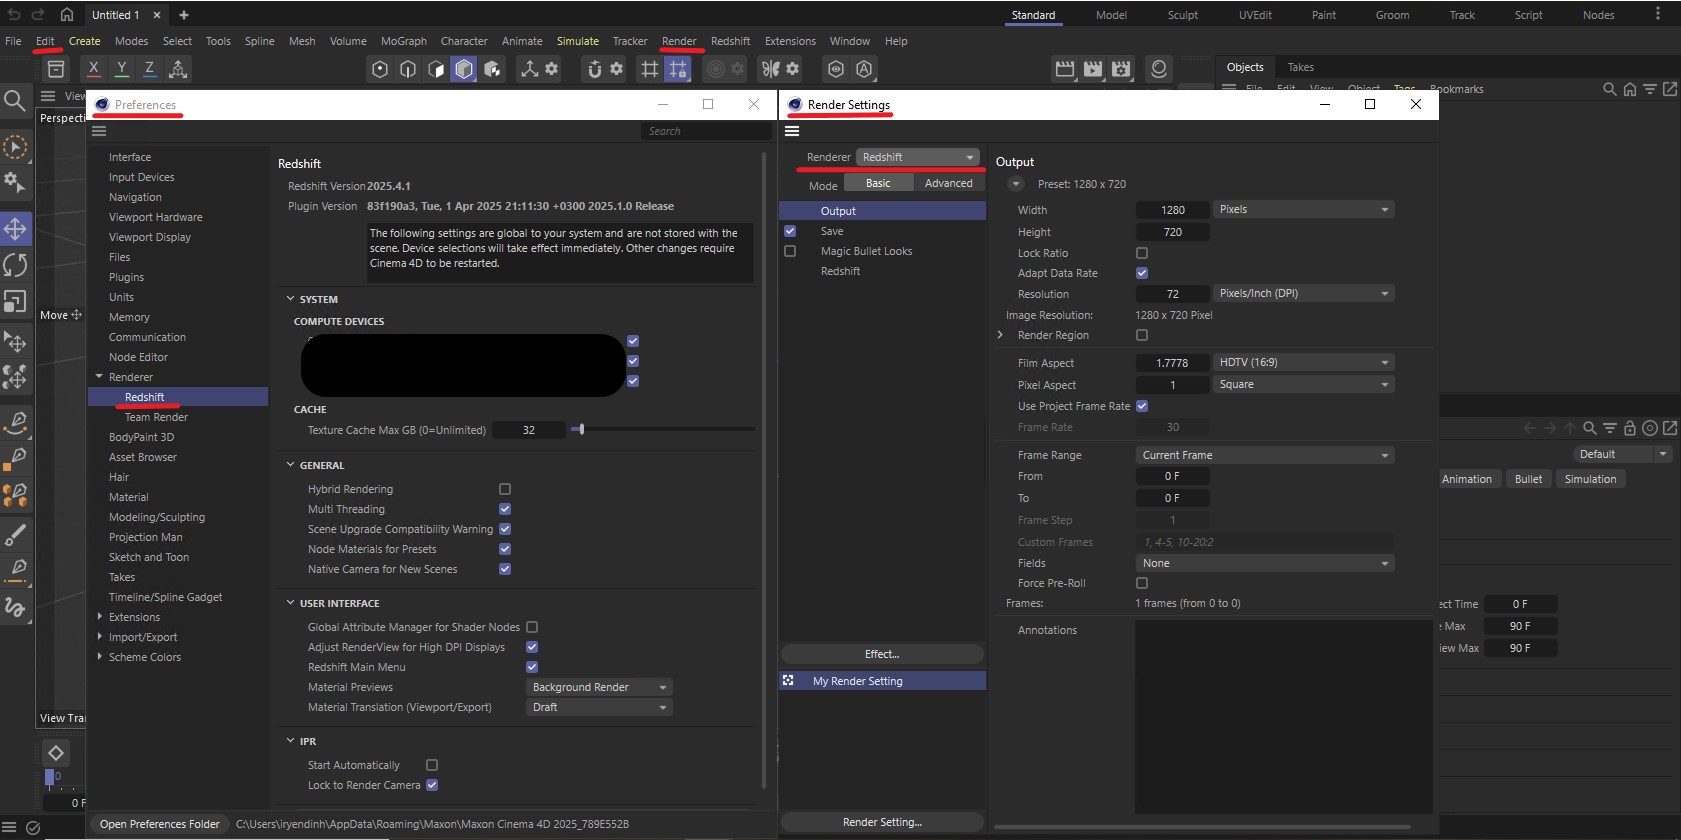
After buying it, come back to your computer to install Cinema 4D. For Cinema 4D 2024 and newer, you don’t need to do anything as Redshift is the default renderer. Find Redshift by going Edit > Preferences > Renderer > Redshift. You can come to Render > Render Settings and check if Redshift is the default selection of Renderer.
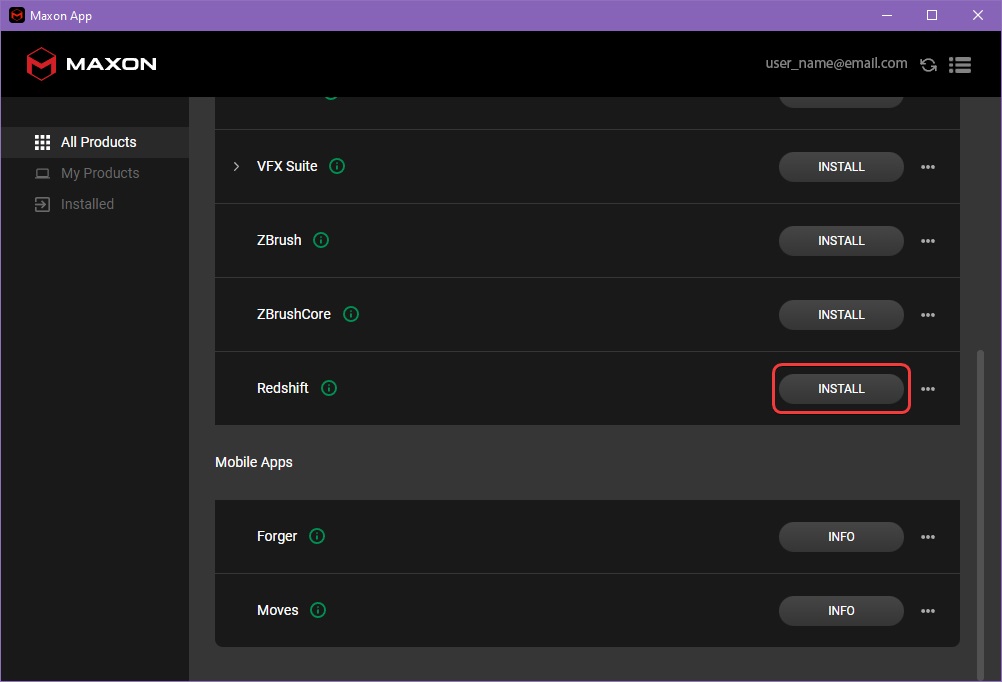
If you use an older version of Cinema 4D, this is how you install Redshift to Cinema 4D.
You download the Redshift installer. You can do it via maxon.net/en/downloads or the Maxon app.
The installer will help guide you through the installation process. Just click Next and Agree to the License Agreement.
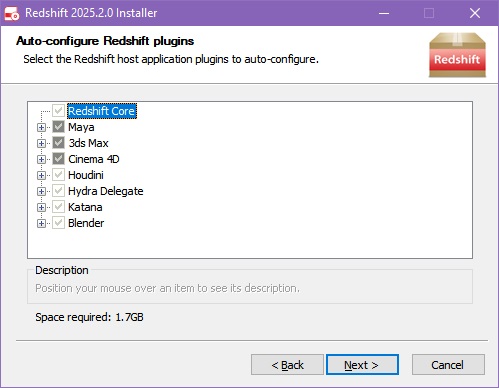
When you come to this step, it will show all compatible versions of DCCs that are detected on your system. You can manually deselect any if you do not want to set up Redshift with those DCCs. In this article, let’s just select Cinema 4D.
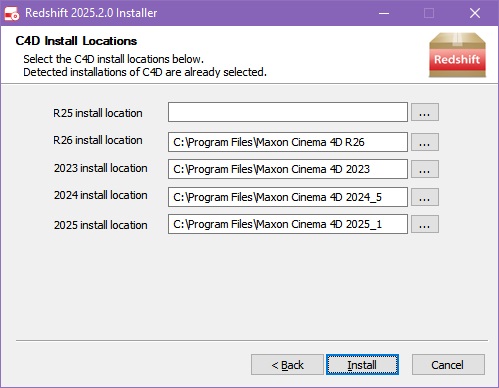
After selecting Cinema 4D, the following screen will appear and allow you to set the install location for each version. Each detected version will be filled with the default Cinema 4D install location, but this can be overwritten with a custom install location.
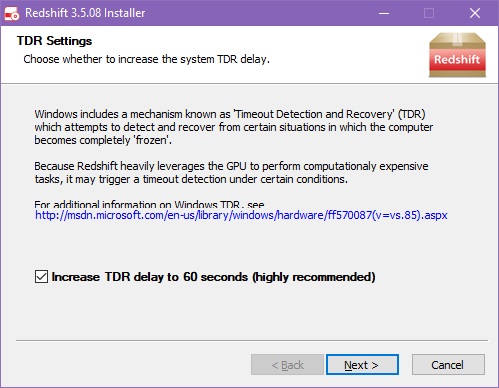
All files are now finished being copied, and maybe a TDR Settings will appear and tell you to modify. We highly recommend you accept the default presented by the installer. Any changes made by the installer will be reverted when you uninstall Redshift.
If you do not see this screen, it means your system’s TDR delay is already suitable for Redshift, or your system does not support TDR.
Redshift installation is now complete. Click Finish to exit the installer.
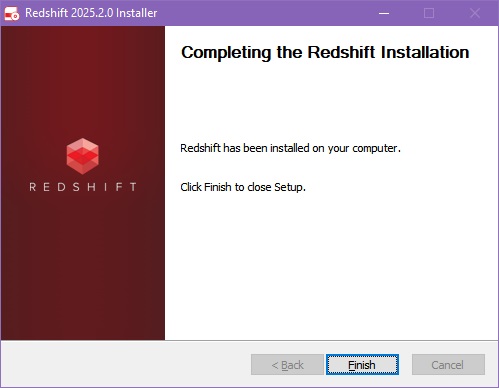
Now you can use Redshift in Cinema 4D.
Final Words
Above is instruction on how to install Redshift to Cinema 4D, from the new to the old version. We recommend that you buy and use a newer version, as it is not only the updated one for the new graphics card and more stable, but also easier because Redshift is included, and you don’t need to install it manually. If there’s any problems occur, you can always contact Maxon support.
See more:


No comments