


How to build a GPU render farm at home?
Building a GPU render farm at home is not only for big studios, it’s becoming an essential investment for 3D artists and small teams who want faster render times, greater efficiency, and full control over their creative workflow. Instead of waiting hours or even days for complex scenes to finish rendering on a single workstation, a home-based GPU render farm can distribute the workload across multiple GPUs, dramatically speeding up production and improving productivity. For freelancers, small studios, or anyone working with demanding software like Blender, Cinema 4D, Maya, Redshift, or OctaneRender, owning a render farm means saving both time and money while maintaining complete privacy over their projects. In this article, we’ll guide you through everything you need to know: the hardware requirements, essential software, and step-by-step instructions to help you build your own GPU render farm at home.
Table of Contents
Hardware to buy to build a GPU render farm
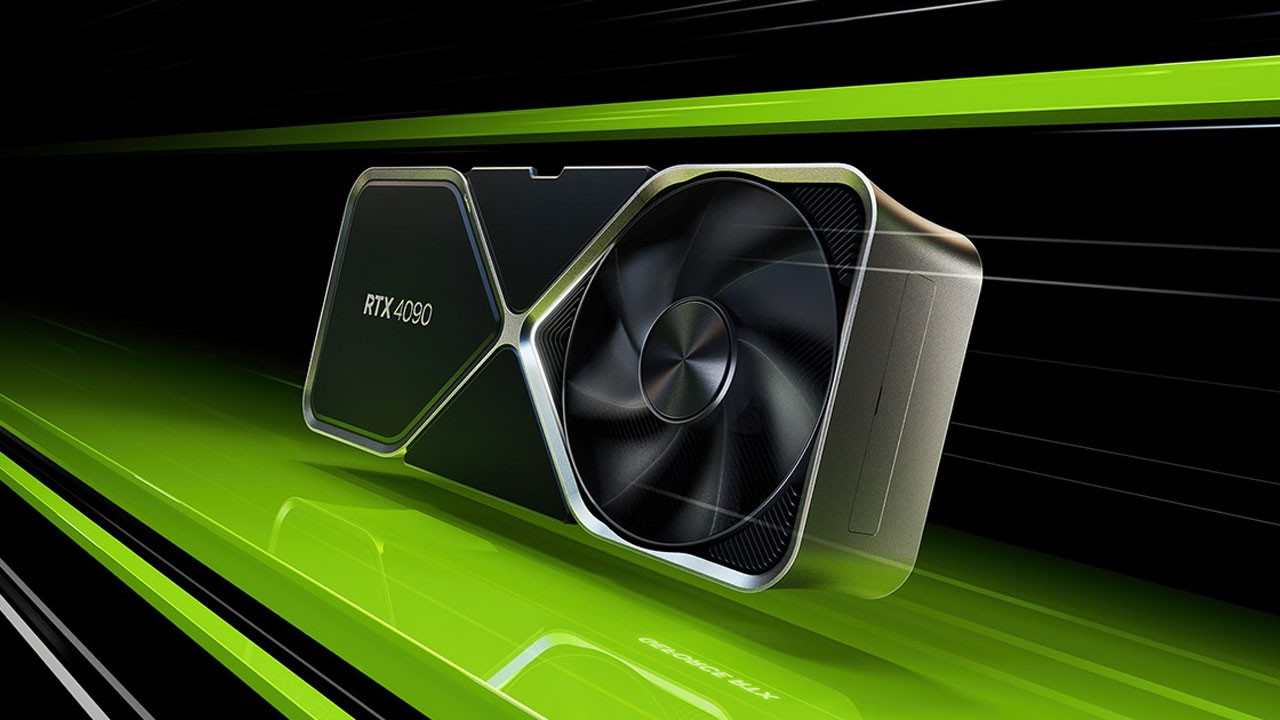
GPU – Graphics Processing Unit
This is the most important part of the GPU render farm. A GPU with a good amount of VRAM would be an excellent choice because, in the long run, you will need to serve more complex projects.
RTX 4070 Ti 12GB VRAM is a good solution for light and medium projects.
RTX 4070 Ti Super or RTX 4080 16GB VRAM is perfect for medium to large projects.
RTX 4090 24GB VRAM is what you should consider for complex projects.
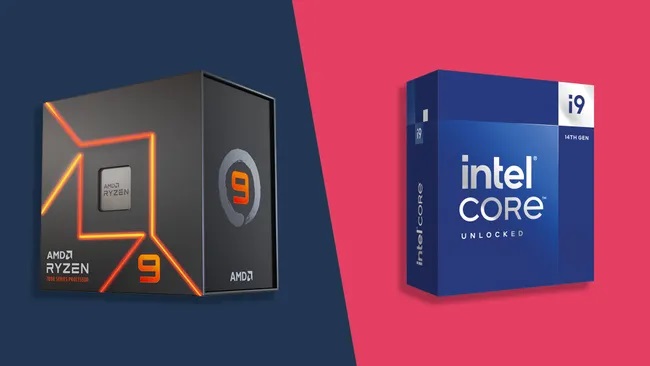
CPU – Central Processing Unit
Don’t think that you can neglect the CPU if you create your own GPU render farm. CPU is there to make sure your whole machine works flawlessly, and handle the data fast enough to keep up with your GPU. Don’t let your GPU wait so long for your CPU to process, your render speed will slow down even if you have a strong GPU.
Some recommendations for CPU for your GPU render farm build:
AMD Ryzen 5 7600 or Intel Core i5-13600K for light and medium projects.
AMD Ryzen 7 9800X3D or Intel Core i7-14700K for medium to large projects.
AMD Ryzen 9 7900X or Intel Core i9-13900K for complex projects.
RAM – Random-access memory
This component also depends on the projects you usually get, but you should start with 32GB and buy more if it’s not enough. 64GB is preferred for medium projects, and 128GB is excellent for complex ones.
SSD – Solid-state drive
A fast SSD will mitigate the bottleneck of data transferring, which leads to snappier productivity. Consider an M.2 PCIe NVMe SSD if you want the fastest one. 500GB is the minimum, while 2TB is the best capacity covering almost all types of projects.
Motherboard
A motherboard should fit your choice of CPU and your number of GPUs. If you have a system of multiple GPUs, pay attention to the PCIe slots in your motherboard.
PSU – Power supply units
This component is important because it determines how much Wattage you need for your whole system. A GPU render farm will consume a lot of power, and don’t forget other components in your build, such as CPU, cooling systems, etc. This website helps you calculate the amount of Wattage your PSU will need based on the system component, check it out.
Cooling system
GPU often comes with a cooler attached, but the whole system still needs to be well-ventilated with intake fans and an exhaust fan.
Case
Make sure to buy a case that fits all your GPUs, matches the Form Factor of your Motherboard, and has the required number of PCIe slots on the backside.
Software to prepare for your GPU render farm
First of all, remember to buy your 3D software license. Some provide an additional license, some don’t, and you need to buy an extra one. You also need a render farm manager software, such as Thinkbox Deadline, and its license.
Some other software for autostart, turn off your nodes from afar, you can use the one from Windows.
Other software for accessing your nodes or your computer from other places: consider Remote Desktop or TeamViewer, or AnyDesk. All of them are free.

Build your own render farm step by step
After all the buying of the hardware, preparing the software, you can now start to build your own GPU render farm.
Build the master nodes like how you build a normal computer. The slave nodes will be controlled by the master nodes and don’t have a monitor, mouse, or keyboard. In the case of a GPU render farm, you stack more GPUs in the system.
Now you set up your LAN network.
Next up is to install your Operating system and your software (3D software, autostart or turn off software, remote access software).
After all is done, it’s time to try a project.
Final thoughts
In conclusion, building a GPU render farm at home is a practical way for 3D artists and small studios to take full control of their rendering power, reduce waiting times, and boost overall productivity. By carefully selecting the right hardware, such as high-performance GPUs, a reliable CPU, sufficient RAM, efficient cooling systems, and a stable network setup, you can create a foundation that ensures speed and stability. Combining with the right software, whether it’s render management tools, GPU-optimized render engines like OctaneRender or Redshift, or distributed network rendering solutions, will help you unlock the full potential of your setup. With the right preparation and configuration, your home GPU render farm can become a powerful creative asset, enabling you to focus more on designing and less on waiting for renders to finish.
See more:


No comments