


Must-watch Blender tutorials for beginners in 2025
Explore must-watch Blender tutorials for beginners in 2025!
Blender 3D is the most famous free 3D suite, which is often chosen as an alternative to paid software. It is used for modeling, animation, sculpting, and rendering. If you are a novice and don’t know how to start your journey, let this article introduce some of the best Blender tutorials for beginners in 2025.
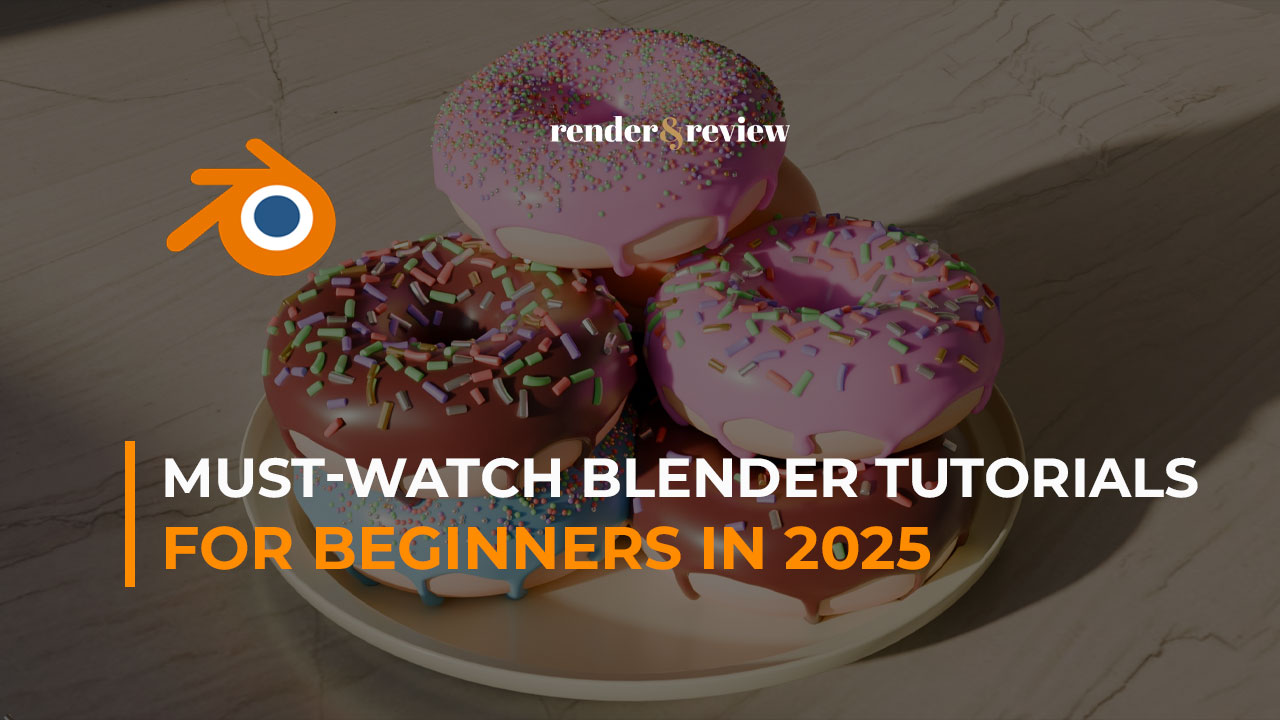
Table of Contents
Tutorial for Interface and basic navigation
If you’re just getting started with Blender, these beginner-friendly tutorial videos will guide you step by step through the essentials to kick off your 3D journey. Here you’ll learn how to download and install Blender, get familiar with its interface, and explore the basics like adding objects, navigating the workspace, and switching between render mode and viewport shading mode. They also cover essential functions such as panning, moving objects, using the cheat sheet, scaling, rotating, and even moving the camera for better shots. Moreover, you’ll discover how to change materials, add a cone, and make your first render. These videos are designed to give you a strong foundation, so you can quickly build confidence and start creating in Blender.
Tutorial for Modeling in Blender
This tutorial from Blender Guru is excellent for a newbie to learn how to model the very first 3D object in Blender by creating a simple yet fun example – a donut. It contains all steps from adding a Torus mesh as the base shape, then applying smooth shading and a subdivision surface modifier to give it a softer, more realistic look. Next, you can learn how to edit the object using Blender’s powerful tools, including proportional editing, to gently deform and shape the donut so it feels more natural. This video also guides you to practice shrinking the circumference to refine its form. Finally, you learn how to save your project to continue improving it later. This video is an easy approach and helps you understand the core principles of modeling in Blender.
Tutorial for Sculpting in Blender
Continue with another video of sculpting in Blender from Blender Guru. Once you’ve shaped your donut through basic modeling, the next step is sculpting to add finer details and realism. To begin, you’ll enter Sculpt Mode, where you can experiment with different brushes and techniques. You’ll learn how to change brush size and strength to control the precision of your strokes, then add more detail by refining the surface. Using tools like the Inflate brush helps create small globules to mimic dough texture, while the Grab brush lets you adjust larger areas of the mesh. The Mask brush, combined with the “Front Faces Only” option, gives you control over which parts of the donut are affected, and you can paint masks directly onto the surface for targeted sculpting. You’ll also explore the Filter brush to make broad adjustments and the Smooth brush to soften rough areas, bringing everything together into a polished, realistic donut model.
If you are using a drawing tablet, this sculpting tutorial is also worth watching.
Tutorial for PBR Shading in Blender
To make your scene look truly realistic, this tutorial video is to help you learn PBR (Physically Based Rendering) shading and texture work by creating a detailed marble countertop beneath your donut. Starting with the basic donut materials, you’ll then add a countertop object and parent it properly to keep everything organized. Next, it helps you learn how to bring in high-quality image textures, such as those from Poliigon, and apply them through Blender’s material nodes. You’ll learn how to add a color map for the marble surface, enhance realism with a roughness map to control reflections, and give the countertop depth with a normal map. The Poliigon addon makes importing textures more seamless, while texture painting and UV unwrapping let you customize the surface and ensure the textures fit correctly. Finally, you’ll save your painted texture, completing a polished marble countertop that complements your donut in a professional-looking render.
Tutorial for Animation in Blender
To bring your project to life, this video follows the instructions for the basics of animation in Blender. Blender Guru video helps you understand keyframing, which records changes in your object’s properties over time. By adding a pivot object (an empty) and parenting the donut to it, you can easily control rotation and create a smooth spinning motion with rotation keyframes. The Dope Sheet allows you to manage and organize your keyframes, while the Graph Editor gives you finer control to adjust curves, change easing for smoother motion, and even normalize the view for easier editing. You’ll also learn how to keyframe the scale of the donut to make it grow or shrink, set the frame rate (frames per second) for your animation, and define the End Frame to control how long your animation lasts. These fundamentals provide a solid foundation for creating engaging, polished donut animations in Blender.
Tutorial for Rendering in Blender
Before rendering any scenes in Blender, there are several important considerations to ensure a high-quality final result. First, you’ll want to determine the correct sample count and noise threshold, balancing render quality with efficiency. Then, go through a pre-rendering checklist: check face orientation to avoid flipped normals, remove unwanted objects, fix intersections, and carefully review composition, lighting, exposure, and color balance. Once these basics are confirmed, you can polish details further—such as adding subsurface scattering (SSS) to the donut for realism, enhancing the sprinkles, and applying the “big, medium, small” detail principle to refine the scene. Improving sky lighting, adding depth of field for camera focus, and using motion blur can also elevate your render. After fixing any final problems, you’ll render the donut as high-quality still images. Finally, you can compile those stills into a complete animation using either Premiere Pro or Blender’s built-in Video Editor. All the instructions are explained in these two videos:
Wrap up
This is just one of the very basic Blender tutorials, but it displays a full workflow from start to finish for you to get to know the software, understand the basic navigation controls, and have an idea of the vocabulary used if you ever watch other tutorials. Once you feel comfortable with all of the UI, tools, and workflow things, and can do it without following the videos, it’s time to take a step further.
See more:

No comments