


RebusFarm workflow for Cinema 4D and Octane rendering
The third farm for Cinema 4D and Octane rendering is RebusFarm. Learn how to render a Cinema 4D and Octane project on RebusFarm with VFXRendering.
1. Set up RebusDrop
Any software can be rendered using the same procedures on RebusFarm. You guys can refer to Cinema 4D & Redshift workflow for the most detailed instruction.
You must first create an account and install RebusDrop. Your 3D application (here Cinema 4D) will integrate the plugin. Once we open C4D and locate RebusFarm software, we are ready to submit the project.
2. Submit job and monitor the process
Before sending the scene, we have to select Priority and other settings like Autostart (project goes in the render queue right away after upload), Render Distributed (still images only), Takes (multiple cameras).
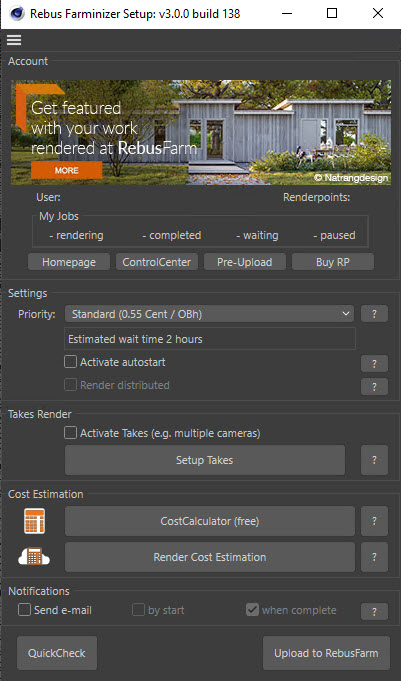
Don’t forget to estimate the cost, either. We don’t want the project to run over budget or out of balance halfway through, after all. RebusFarm offers two different cost calculators: one is free for rough estimation, one is charged for precise estimation.
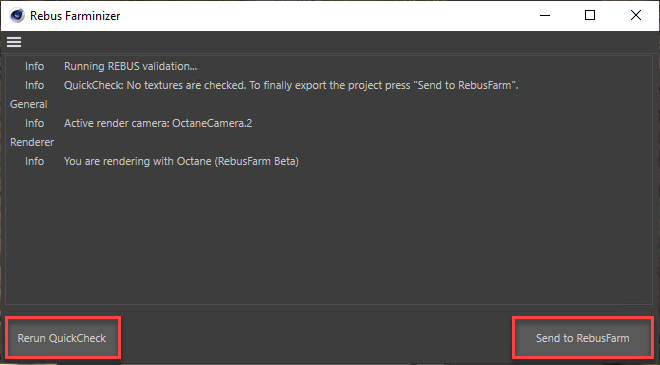
After making any necessary adjustments, select QuickCheck or Upload to RebusFarm. The plugin examines the scene and alerts you to any error. Make the necessary corrections before clicking Send to RebusFarm. The project will be uploaded to the farm and start rendering immediately in the event that you have turned on Autostart function.
To control the render task, we then go to ControlCenter. You are able to start the render job and monitor progress here. The detail area contains additional details and configuration options. For example, you can change the priority (if the render hasn’t yet started), see rendered frames in preview windows, view the production time, etc.
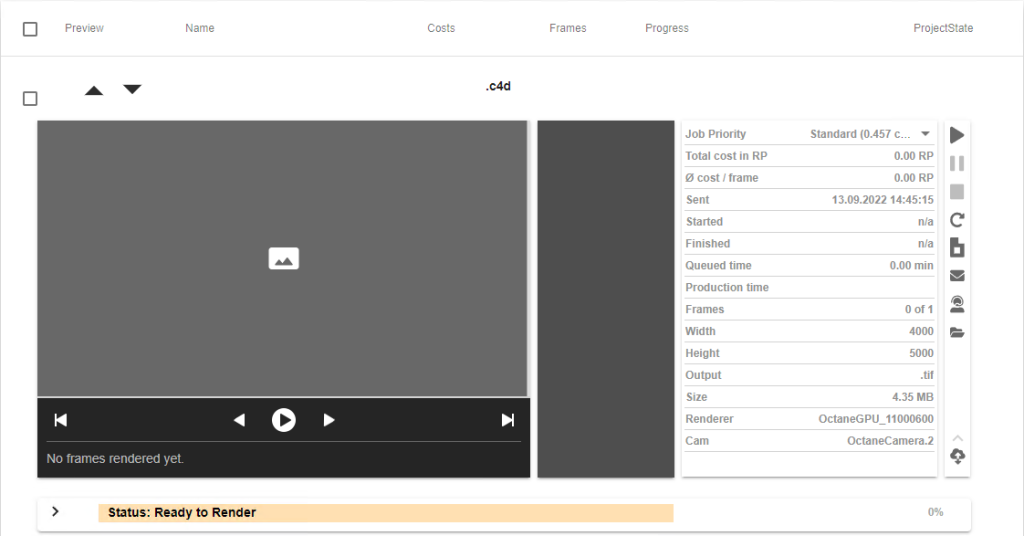
A frame will be automatically downloaded to the selected local location after being rendered.
3. Test results on RebusFarm
We will use a project called “Infuse” made and shared by TFMSTYLE.
Because at RebusFarm, Priority doesn’t affect the render time, but the position in queue. So we only test the lowest priority (Standard) and the highest priority (+7).
| Priority | Render Points | Render Time |
| Standard | 0.46 | 4.7 min |
| Priority +7 | 4.22 | 4.3 min |
3. Conclusion
- Priority doesn’t affect the render time. Priority just let you to move up in the render queue, meaning less queued time. But the wait time depends on the number of jobs in the queue at that time. If there are not many jobs, the higher priority make no difference. Unfornately, unlike previous tests for C4D & Redshift, C4D & physical renderer, the wait time this time is pretty long (nearly 2 hours).
- The higher priority, the more expensive render cost (with the same render time). If you are not hurry, Standard Priority is the best. You can change to higher priority later if the wait time is too long.
- This is our quick instructions for you to have a better understanding. We also test render time and cost between priority options for one same project for reference. It’s better to test your own project by yourself.
If there’s anything you want us to clarify, please leave a comment below.


No comments