


iRender workflow for Cinema 4D and Octane rendering
OctaneRender is an unbiased, spectrally correct GPU render engine. Not only Octane is super fast, but it also delivers high quality images. See how we can render a Cinema 4D & Octane project on render farms. Let’s start with iRender Farm today.
Table of Contents
1. Set up iRender Drive and upload project
The steps for rendering any software on iRender Farm is the same. You guys can refer to Cinema 4D & Redshift workflow for the most detailed instruction.
First, you will need an account at iRender and log in. Go to Downloads and download iRender Drive (or Gpuhub Sync) – their file transferring application. Upload the project (including textures, etc) to Storage Z of iRender Drive. Then the project will automatically sync to Disk Z on their servers (2-way sync).
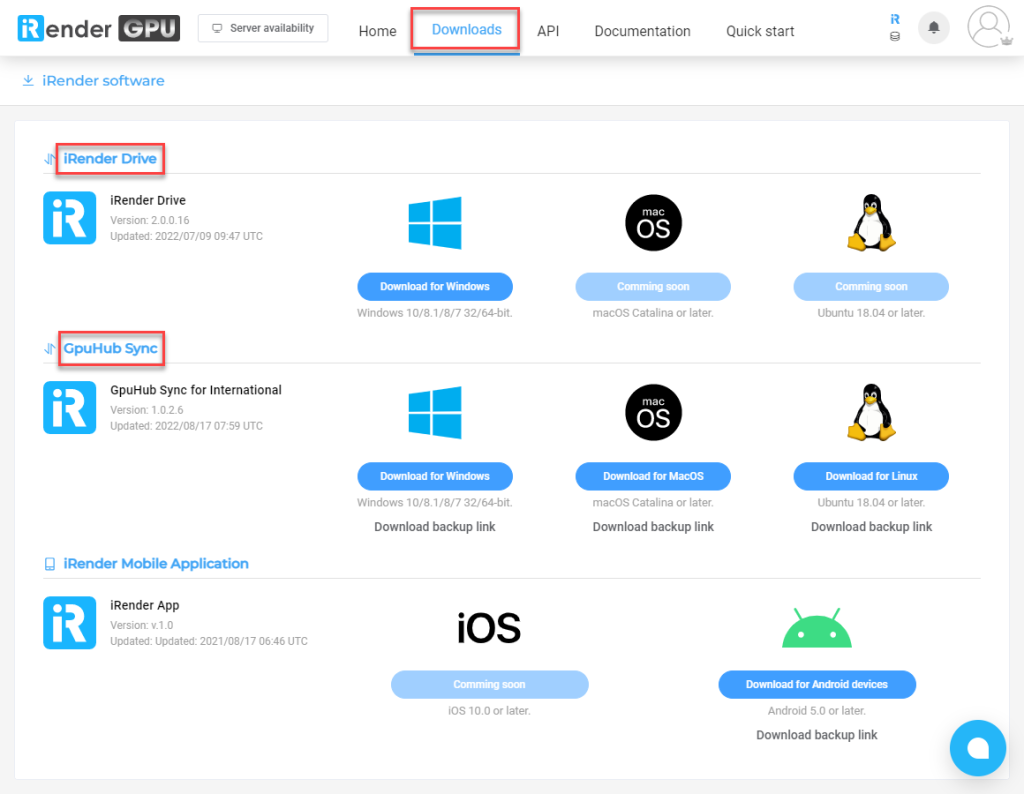

Tip: You can also use other services to transfer project, such as Dropbox, Google Drive, Filezilla, etc.
2. Set up the instance
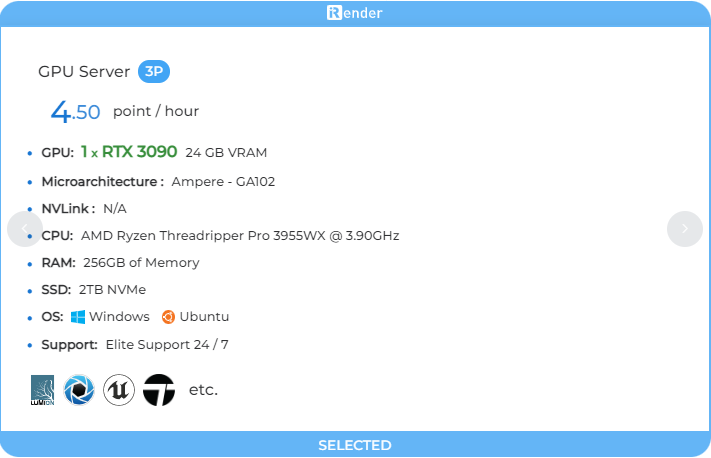
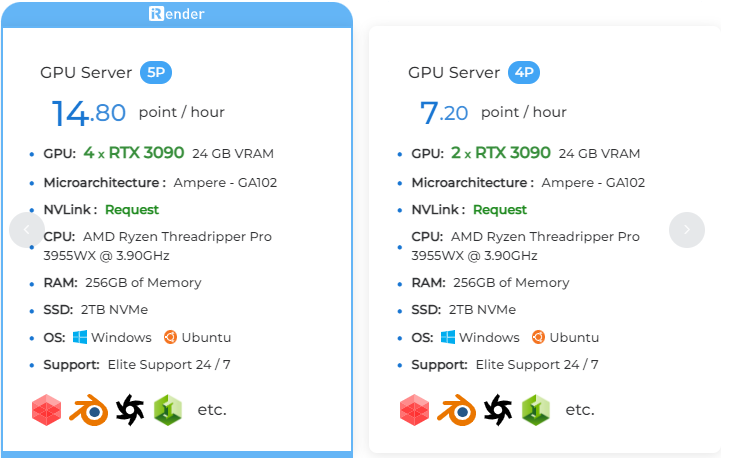
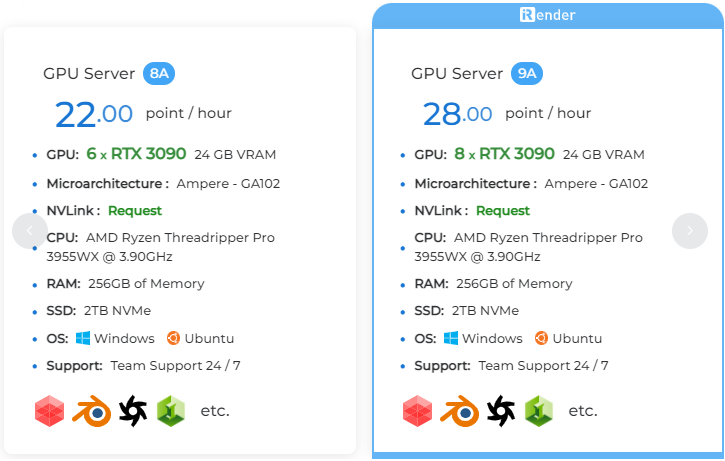
Next, go back to Web Manager and Create a new image (instance). Image is a remote desktop that you will work directly on it. Then let’s choose a server among several servers iRender provides. Basically, you can choose any of them, but you should choose one that suits your Octane version.
- Studio: Max 2x GPUs.
- Enterprise: No Gpu limit.
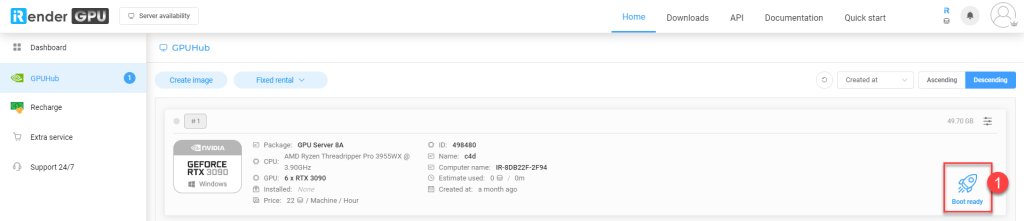
After creating an image, you have to make it running, by click Boot ready > Boot machine. Wait a few minutes until Connect and Shutdown appears. Click Connect, you will see a remote desktop file downloaded automatically. Open that file, enter your iRender password to access the remote server.

3. Render project and download result
Voilà, you are in their server! It is like your own PC/laptop but it is completely new. Now you have to install Cinema 4D and Octane. After that, add your license and start rendering the project. You can find the project in Disk Z if you have used iRender Drive, or download the project from cloud/FTP services if you have used them.
Note:
- Billing starts as soon as Connect appears, and stops when you click Shutdown. So only boot the image when you are ready to render.
- The software installed will be saved for next sessions.
Finally, when the render finishes, you copy the result to Disk Z of the server. Files will automatically sync back to iRender Drive in your local computer. Or you can upload the result to third party services such as Dropbox, Google Drive, Filezilla, etc. Don’t forget to release the license before close the session. The last step is click Shutdown on the Web Manager to turn off the image, and to stop billing.
4. Test results
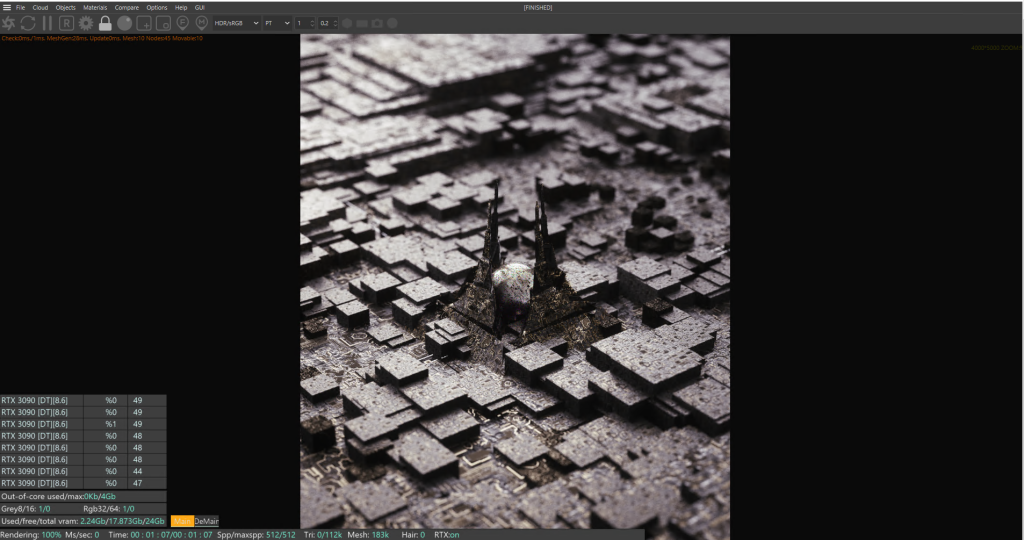
For the test, we will use “Infuse” project made and shared by TFMSTYLE.
| Package | Render time | Render cost |
| Server 9A (8 x RTX 3090) | 1m07s | $0.52 |
| Server 8A (6 x RTX 3090) | 1m18s | $0.48 |
| Server 5P (4 x RTX 3090) | 1m46s | $0.44 |
| Server 4P (2 x RTX 3090) | 3m25s | $0.41 |
| Server 3P (1 x RTX 3090) | 7m13s | $0.54 |
5. Conclusion
- It will take time and effort to set up the working instance in the 1st time. After that, it’s the same as using our computer.
- Server 8 x RTX 3090 is the fastest, while server 2 x RTX 3090 is the most economical.
- This is our detailed instructions for you to have a better understanding. We also test render time and cost between server options for one same project for reference. It’s better to test your own project by yourself.
If there’s anything you want us to clarify, please leave a comment below.
See more:


No comments